When you first install the WP eStore plugin, you will see that only the PayPal payment gateway is enabled by default. Most users only use the PayPal standard gateway so that option is automatically enabled for you in the settings when you install the plugin.
However, you have the freedom to uncheck/disable PayPal checkout from the settings and enable any other payment gateway that you prefer to use at any time.
There are two types of setups you can go after with the gateway checkout option for your store:
- You can process all of your checkouts using ONE payment gateway
- You can give your users an option to choose which gateway they want to use for a checkout
1. Using One Gateway For All Chekcout
This setup is the widely used setup. All of your customers will checkout via the payment gateway that you specified (the customers don’t have a choice). For example, when you specify PayPal gateway, all of your customers will be able to checkout via PayPal.
Lets say you have added the Payment Gateway Bundle addon and you want to process checkout via Google Checkout. You would do the following to achieve this:
- Go to WP eStore Settings -> Payment Gateway Settings and make sure all the payment gateways offered in eStore are unchecked/disabled.
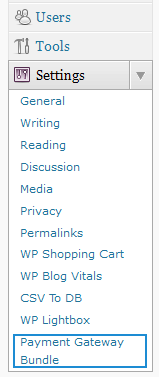
- Go to payment gateway bundle addon settings -> Gateway Settings menu and check the “Use Google Checkout Payment Gateway” checkbox to enable Google checkout.
Now, when your customers add items to the shopping cart and click the checkout button, they will be able to pay you for the items via Google Checkout.
2. Using Multiple Gateways At the Same Time
You can use this setup to give your customers the choice of choosing the payment method for a checkout from a range of selections. For example, you can enable both PayPal and Google Checkout gateways and the customers will be able to choose which one they want to use and make then payment.
Lets say, you want to use both PayPal and Google Checkout at the same time. You would do the following to achieve this setup:
- Go to WP eStore Settings -> Payment Gateway Settings and make sure to enable/check the “Use Multiple Payment Gateways” option.
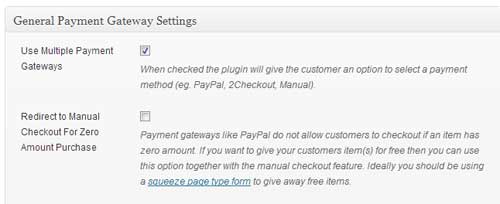
- Go to the “PayPal” settings section and make sure the “Use PayPal Payment Gateway” field is checked
- Make sure to enter your correct PayPal merchant account details in there too
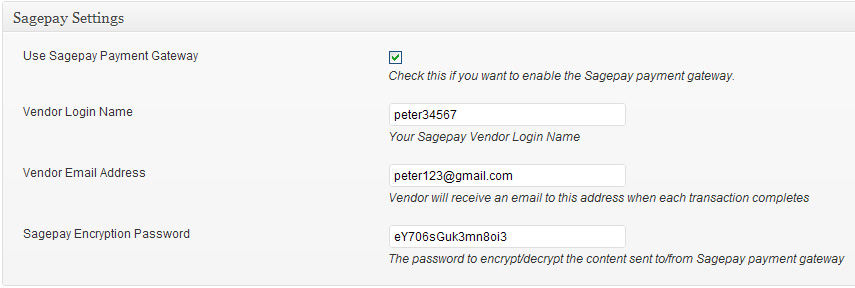
- Go to payment gateway bundle addon settings -> Gateway Settings menu and check the “Use Google Checkout Payment Gateway” checkbox
- Make sure to enter your correct Google Checkout merchant account details in there too
Now, when your customers add items to the shopping cart, they will be able to select between PayPal or Google Checkout to make the payment for the items.
You can enable as many gateways as you wish (you will of-course need to have a merchant account with the gateway you select).
The following screenshot gives you an idea of how your customers can select a payment method when they are about to do a checkout.
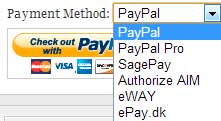
Multiple payment gateways
